 |
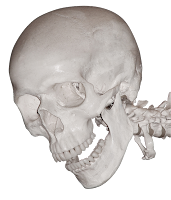
| Original image. |
 |
| Image with different background. |
This past Halloween, I started working on a quick tutorial on masking images. Well it got complicated and I stopped. Well I am finally getting around to finishing this tut.
You can do a lot of cool things with masks such as replacing the background with a different image or making the background transparent to save as a portable network graphics (PNG) file.
1.) Load your image in The GIMP. I grabbed the skull from
SXC.hu, a great place to look for free stock photos. Be sure to read the standard restrictions before downloading and using an image from SXC.hu. Note: Try to grab a photo with a simple background color. For this tutorial, I will be using the Select By Color tool to select the image. You may also use the Free Select Lasso tool or the Scissors Select tool (aka Intelligent Scissors) if Select By Color does not work for you.
2.) Go to the Layers dialogue and right-click your image and select Add Layer Mask. In the Add Layer Mask dialogue box, just select White (full opacity). You will see a white box appear next to your image.
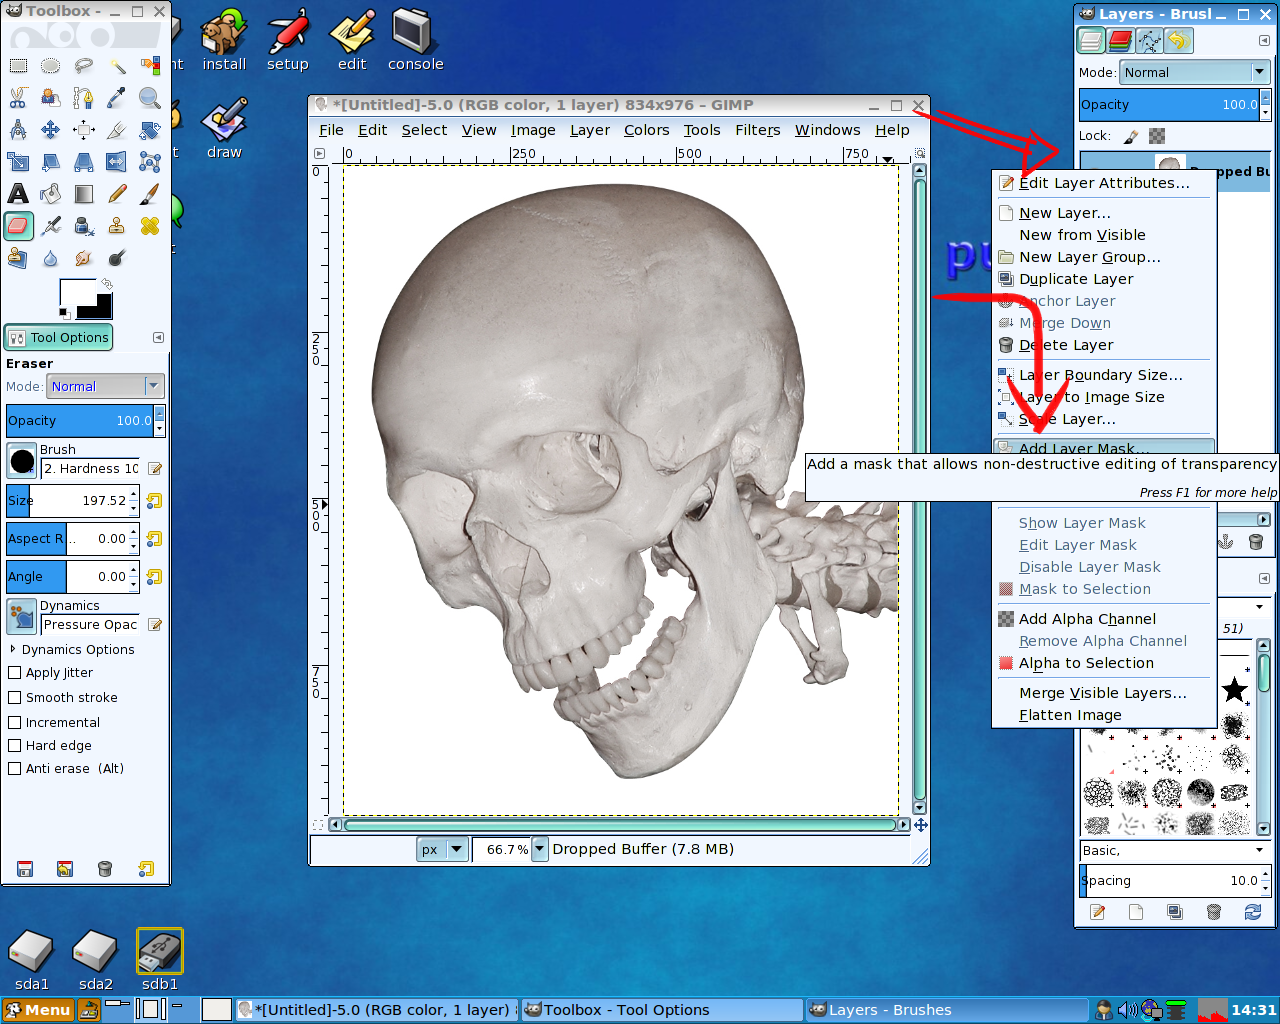 |
| Add Layer Mask |
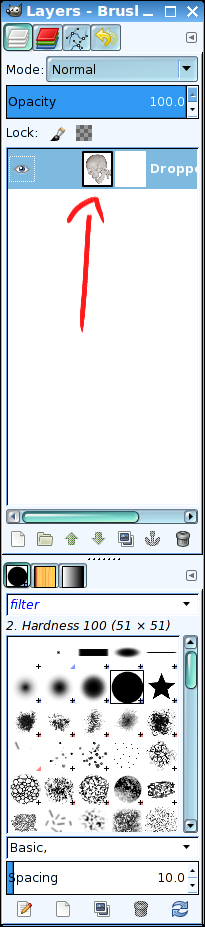
3.) Now you are going to select the image. See the black box around your image in the Layers dialogue? That means that image is inactive. We need to make it active. To do this, you need to select the image using the mouse. You should see the black box move over to the white mask.
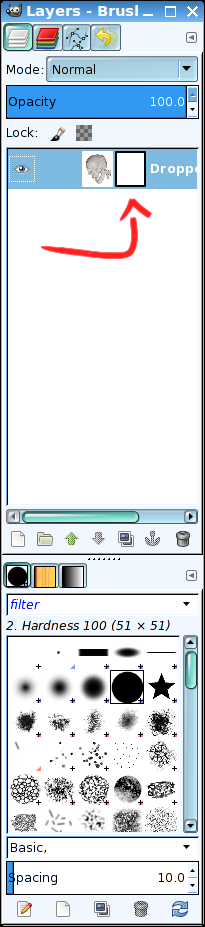 |
| Select the image. Move the black box over to the white mask. |
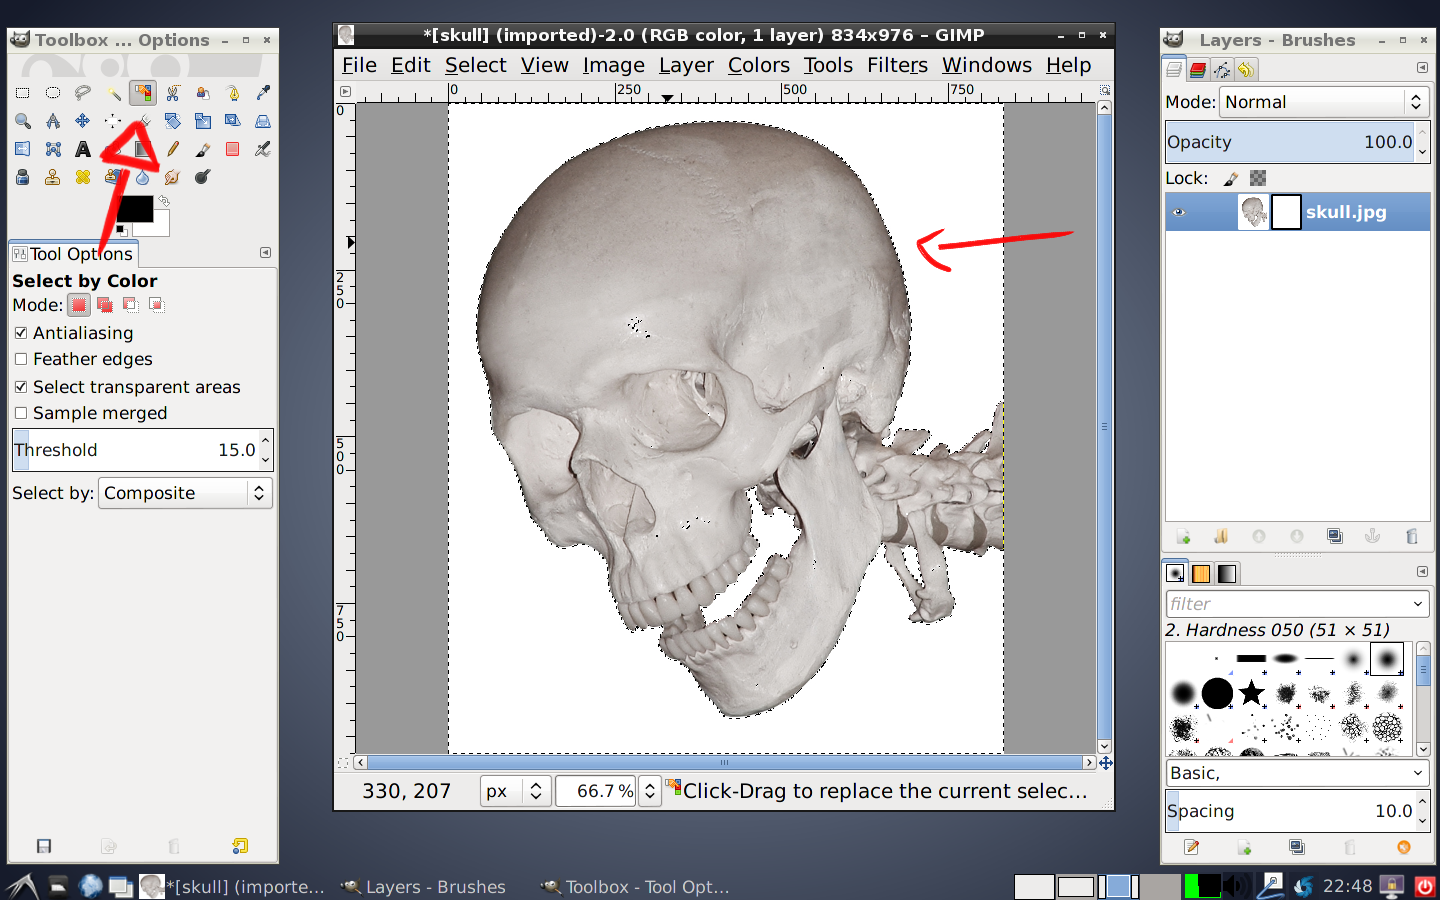
4.) If your image has a solid background, use the Select By Color tool from the Toolbox to grab the background area of the image. If your background is more complex, you will want to use the Lasso tool to grab the area around your subject.
After using the Select By Color tool, you should see some squiggly/marching lines around the edge of your image (the background) and the part of the image you want to keep. This will select the image you want to keep and allow you to erase the background.
Note: If you used the Lasso tool, you will see the marching lines around your subject that you enclosed the Lasso around. After selecting the subject with the Lasso tool, go to Select, Invert. You need to invert your selection in order to remove the background with the layer mask. Once you invert, you will see the marching lines around your subject and the background, such as in the example below.
 |
| Marching lines around your subject and background. |
5.) Now go back to your Layers dialogue and select the white mask (move the black box over to your image).
 |
| Select the mask. Move the black box over your subject. |
6.) Before you remove the background, you need to make sure your foreground and background colors are white and black, respectfully. Go to the Toolbox and make your foreground white and your background black.
 |
| Foreground is white. Background is black. |
7.) Select the Eraser tool and an appropriate brush. Proceed to remove the background. With the layer mask selected, and your foreground color white, the eraser will remove the background and leave the image you want to keep. Proceed to remove the background.
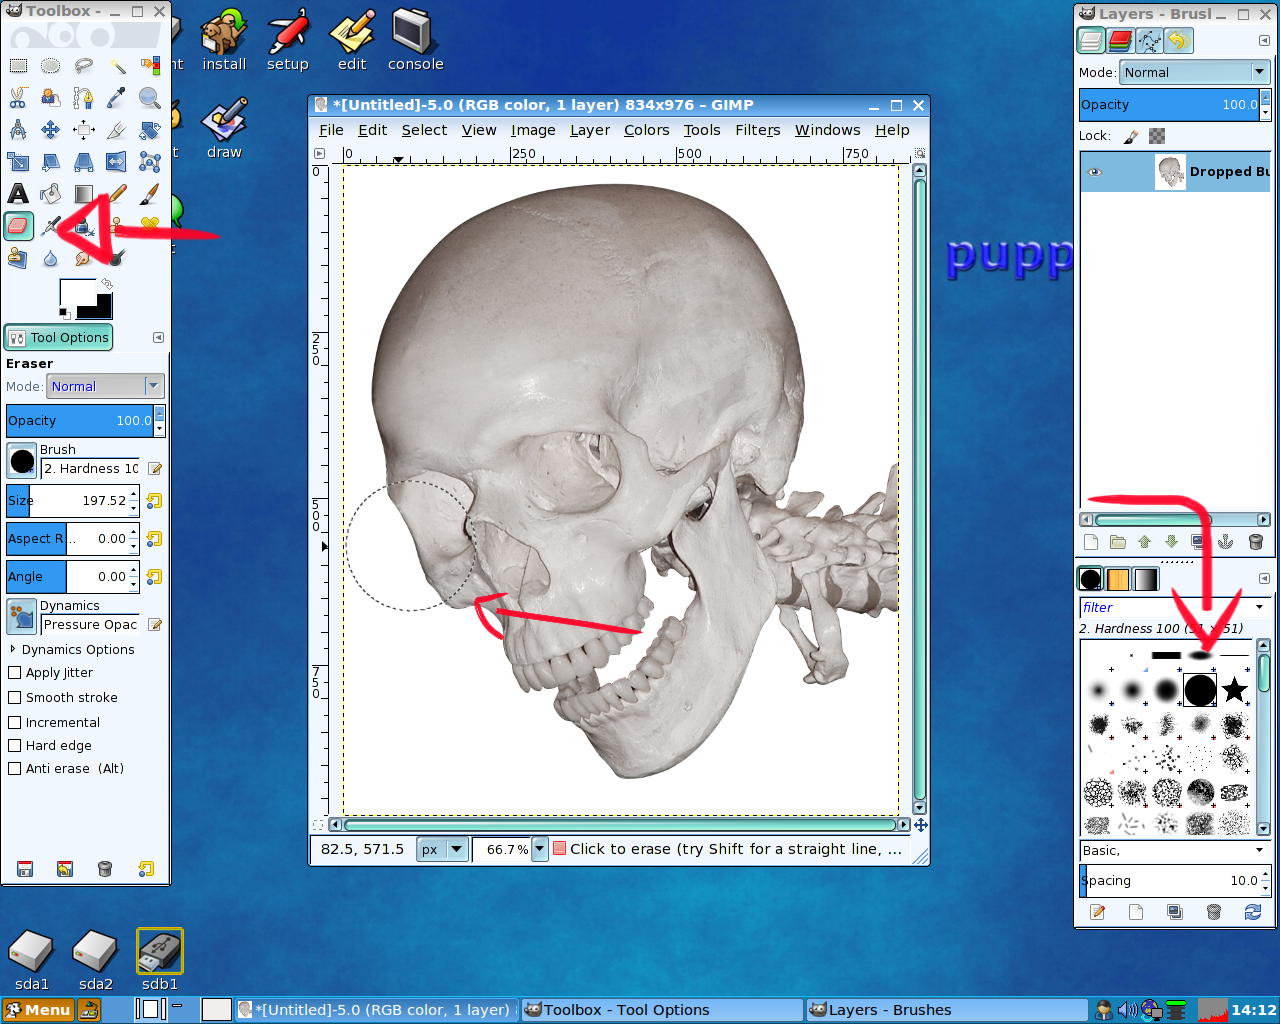 |
| Use the eraser to remove the background. Make sure your Layer Mask is selected. Note, in this image, the Layer Mask is missing in the Layers dialogue. |
8.) You will see the layer mask in the Layers dialogue change. The white is visible but the black is not. This is an example of a layer mask. Now you can un-select everything (Ctrl+Shift+A or Select, None). Save the file as an PNG or replace the background with something else.
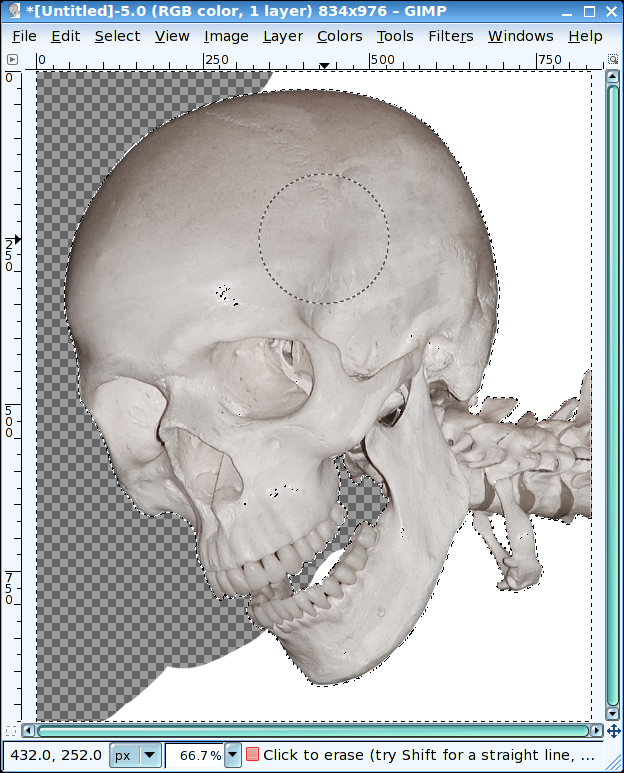 |
| Using the eraser to remove the background. |
9.) I went to
SXC.hu and downloaded a stock image of some flames. To create the background, first add a new transparent layer. You can do this from the Layers dialogue or select Layer, New Layer. The default values are OK in the New Layer dialogue. Select OK.
10.) Drag the new layer below the masked image in the Layers dialogue. Select the new layer. Select File, Open As Layers and add your background image.
11.) Now you have the image and the background, you may see some areas that you need to retouch.
 |
| Some areas that need to be retouched. |
12.) Use the eyes in the Layers dialogue to hide the background. Make sure you have the Layer Mask selected (the white border around the layer mask in the Layers dialogue). By doing this, you can bring back the background we erased earlier without touching the image.
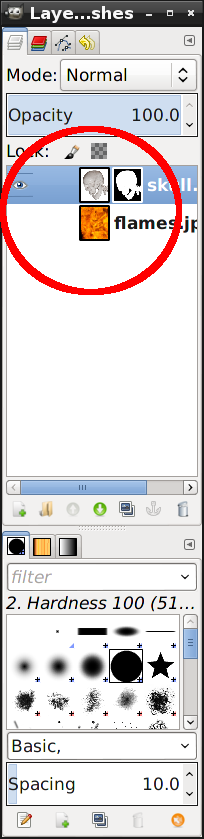 |
| Hide the background. Select the Layer Mask. |
13.) After retouching, you can reveal the background. You may want to add a Guassian Blur to the mask to blend the image with the background.
 |
| Adding Guassian Blur to the Layer Mask. |
14.) Here is the end result of this project. Hope you had fun. If you have questions, feel free to reach out.


