Thursday, January 30, 2014

How to Create a Retro Postcard Design in Gimp 2.8


An awesome tutorial on creating postcards with The GIMP. This one is from JosephsPlace at YouTube. When I first attempted this, I got lost in the middle of the tutorial and starting working on this postcard project on my own. Here is the result of my first attempt, a postcard from my hometown in Old Roseville, CA:

Postcard - Greetings From Roseville, California
First attempt.
The author of the tutorial mentions Photoshop users have access to an easy wave making tool. In GIMP, we have to use the path tool to create a text along path or use the newer cage transform tool, which is what I did.

This tutorial is also beneficial due to the extra techniques the author mentions that can really change the way you do graphics. Little things such as changing the font size of the first letter so that is is roughly 10-15% larger then the rest of the proceeding text. Also the links to the font used was a good look by the author, I have used them now in many projects.

Postcard - Visit Beautiful Locke, California
Second attempt.
I did find some flaws in my second go-around, while making the postcard for Locke, CA. During my first attempt, I painstakingly cleaned up the edges to remove the aliasing that occurs when you create the 3-D background. The second time around, I was able to follow the tutorial to the end and found that my edges showed bad aliasing which is hard to fix. You have to go around the entire edge with a small, maybe 1-pixel size eraser brush and remove the edges. Unless there is a better way that I am unaware of. Here is the result of my second go:

Some other useful techniques I found in my second go was the black radial gradient the author uses to bring out the text, along with the softlight radial gradient used to create a light source. Very cool. If you are interested, check out JosephsPlace tutorial on YouTube or the embedded video below:
Tuesday, January 28, 2014

GIMP Tutorial - Use Channel Mask & Threshold for Complex Selections by V...

GIMP Tutorial - Use Channel Mask & Threshold for Complex Selections by V...

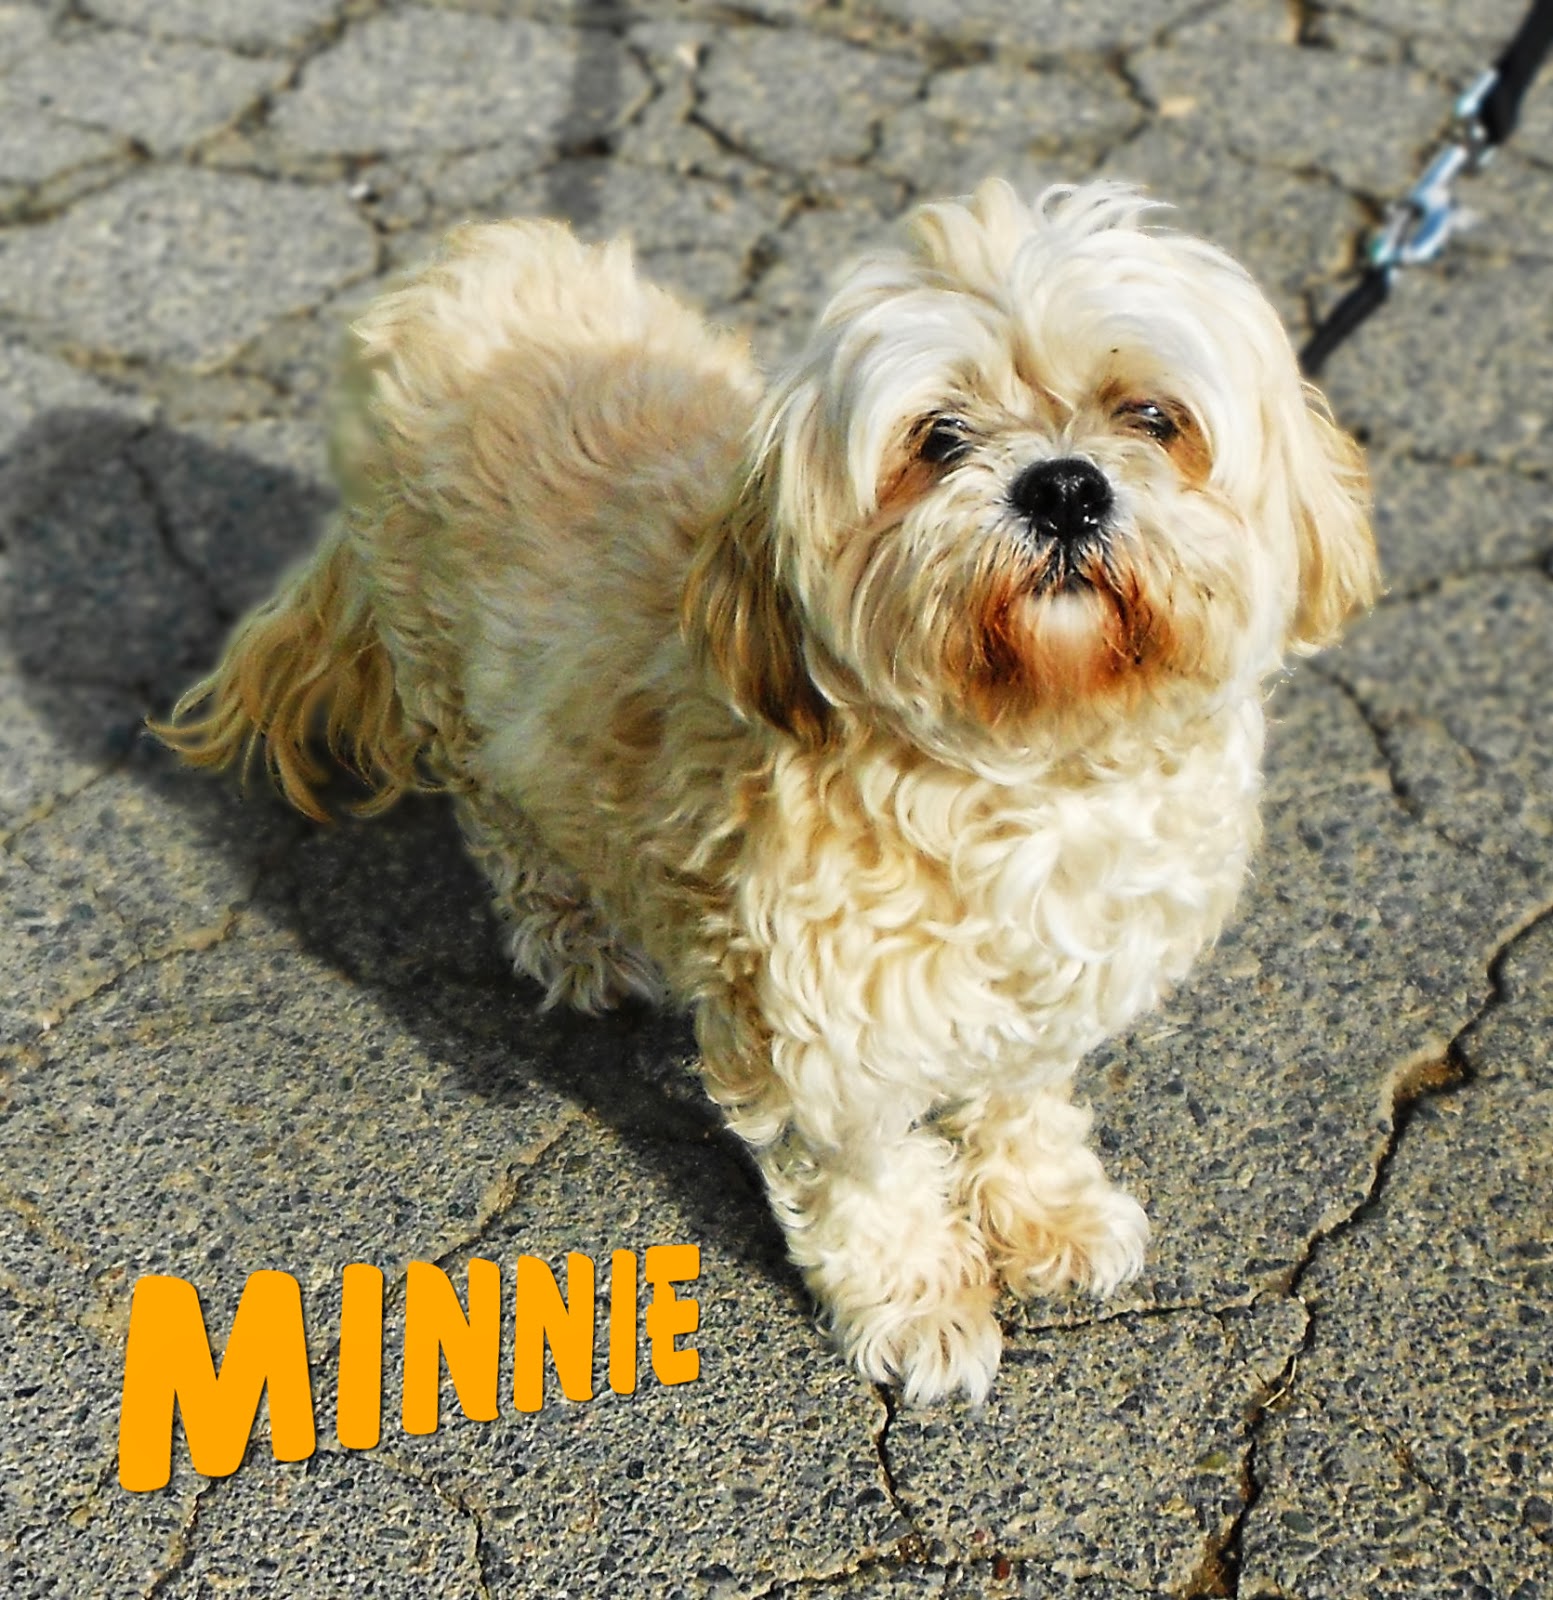
Furry Lhasa Apso/Mix
Minnie the furry Lhasa Apso/Mix with simulated depth-of-field.
I use a lot of GIMP tutorials found all over the web for various projects. One of my go-to instructors is VscorpianC, be sure to check out her YouTube channel. I do a lot of graphic work as a volunteer at the local animal shelter, and often times I want to use a photo of a dog that has a crummy background, such as the one of Minnie, the 9-year old Lhasa Apso/Mix available for adoption, in the picture to the right.


To work with the photo I need to lasso the animal in GIMP and then either replace the background with a nice looking graphic or use a technique I learned from another tutorial found online called simulating depth-of-field (DOF), thanks to the GIMP Guru. This technique is easy enough to perform on a picture of a smooth-haired chihuahua or pitty, but on a Lhasa Apso... yeah all that fur makes lassoing the outline of the dog a real pain!

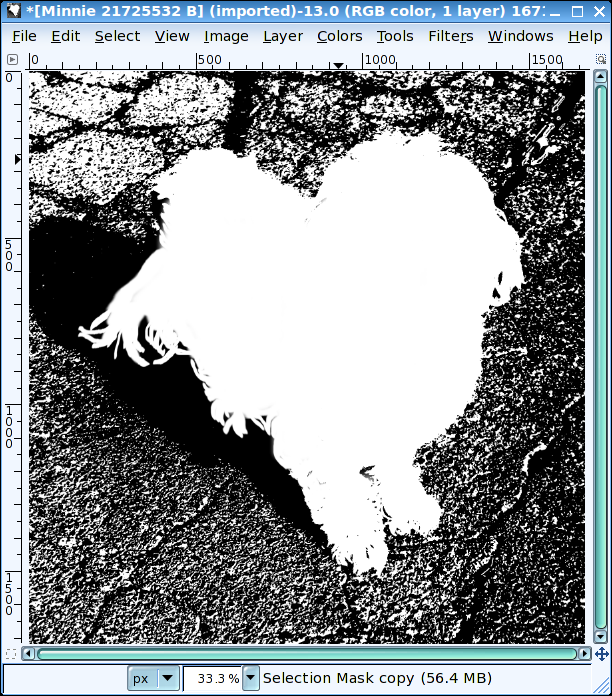
Channel selection mask copy.
Using the color threshold and paintbrush to create a channel mask.

Luckily, I found VscorpianC's tutorial on using a channel mask threshold for complex selections. Using an image of a tiger with whiskers poking out against the background, VscorpianC clearly informs how to use GIMP's channels and color threshold to create a channel mask.

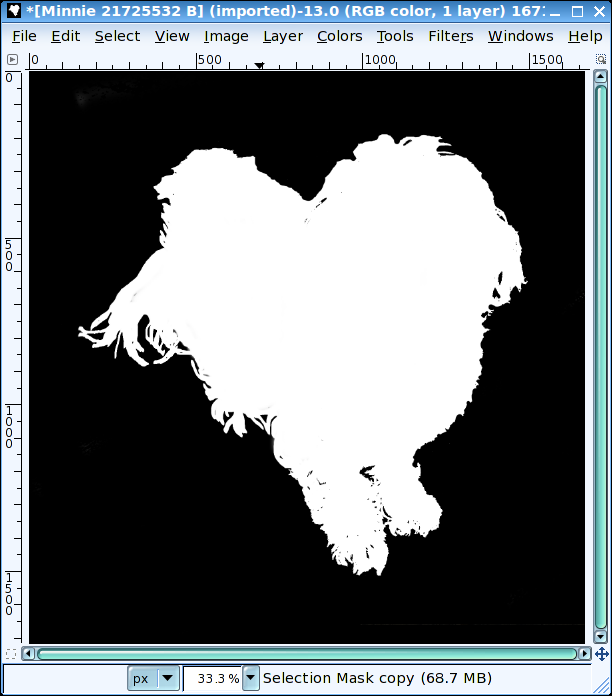
Layer Mask.
Layer mask.
After creating the channel mask, VscorpianC explains that you can add a layer mask and use the channel selection mask copy as a selection. From there you can replace the background if that is all you want to do. Or, create a simulated DOF, such as I did. Check out GIMP Guru's tutorial on simulated DOF.

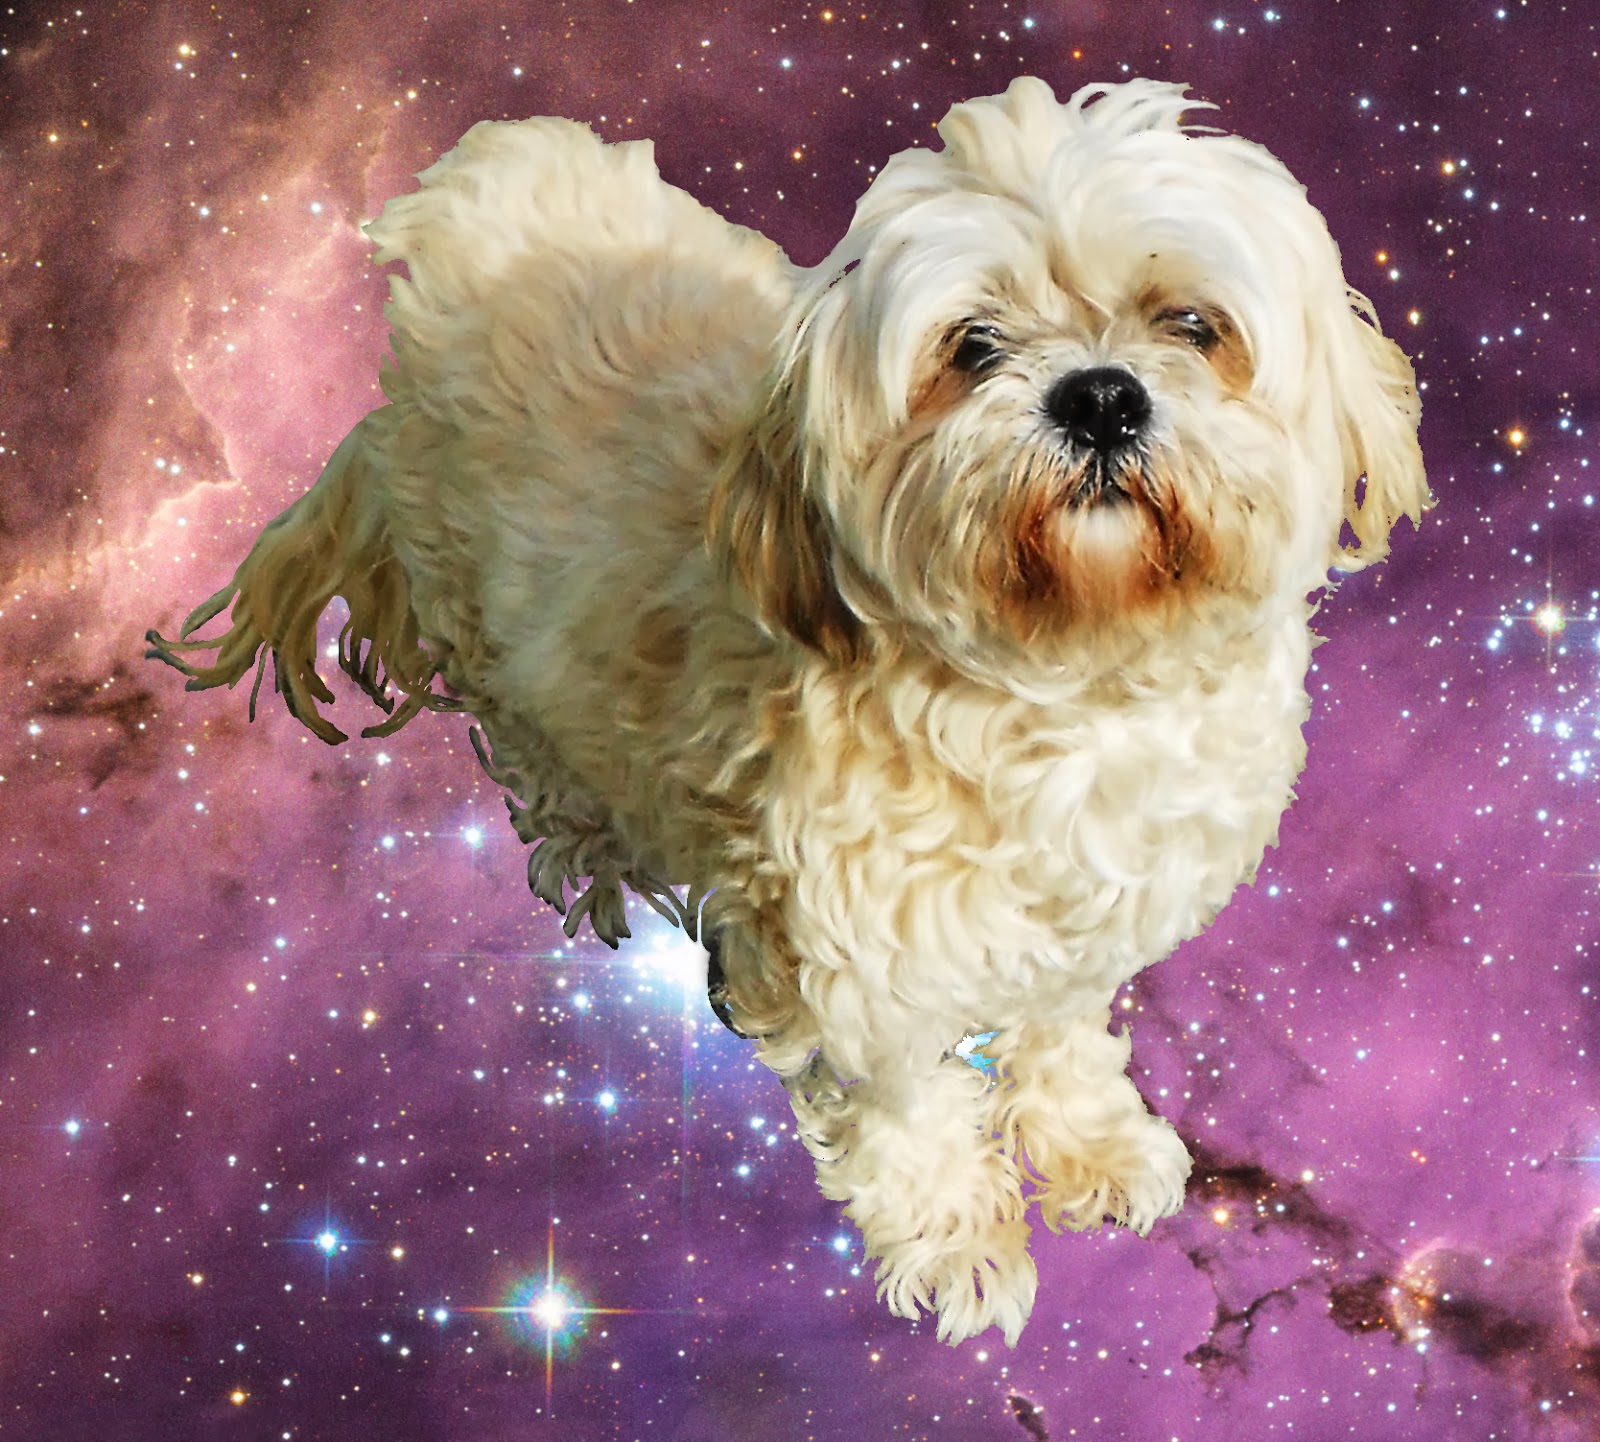
Minnie with background replaced with a space scene.
Minnie in space. Photo by NASA, ESA. Acknowledgement: Josh Lake.


Monday, January 27, 2014

You Must Be Patient With True Detective and Branding Ideas

I haven't been very good at updating this whole blog thing as of late. With all the great TV shows on-air... True Detective has got to be the most interesting snooze on-air right now, and with Shameless back, well my Sunday nights are booked.

For the past several weeks, I have been working on marketing myself, coding my own website in CSS3 and HTML5. But I have been having some trouble branding myself. What do you think a good name for my business should be? I have it narrowed down to anything with my initials really. Here is a logo I built:

Logo with transparent initials.


The logo is transparent through the initials to show off anything in the background. Here is an example of the logo with a background image:

Kind of like the bat signal?
The good news is I finished my course at ed2go.com on Introduction to CSS3 and HTML5. I am looking forward to my next course, Intermediate CSS3 and HTML5 starting in mid-February.

As for my branding, I am having trouble coming up with a name. Here are some quick mockups I created in GIMP's logo creation feature. I have tried "gabriel ohh designs:"

Alien glow example.

Here is "g-ohh designs:"

Glowing hot example.
Here is "gohh designs:"

Neon example.
I am not really sold on either, just trying to throw ideas out until I find something that sticks.

Back to True Detective, the story moves at a snail's pace. Back when I was in Film Studies, I learned to call a slow movie, "patient." Well you have to be patient with True Detective. The next time I dress up for an interview, or court appearance, I am taking a cue from Rust's wardrobe. Gotta love the sleazy style, makes you want to read Nietzsche and Camus again. Also, the opening credits to the show have got to be the best I have seen on television. Check them out: